- Tile grout gets dirty because it’s porous, so it absorbs dirt, moisture, and spills over time—especially in kitchens, bathrooms, and high-traffic areas.
- You don’t need expensive tools to clean tile grout. A grout brush or toothbrush, gloves, microfiber cloth, and basic cleaning supplies are enough for most grout jobs.
- A baking soda paste is the best beginner-friendly grout cleaner, and it works well for most tile grout stains when you apply it, let it sit, scrub, rinse, and dry properly.
- Stubborn tile grout stains require stronger methods, such as vinegar (for light stains), hydrogen peroxide (for stubborn stains), or a commercial grout cleaner for deep discoloration.
- Rinsing and drying tile grout after cleaning is essential to avoid hazy residue and to prevent mold and mildew from returning.
- Sealing tile grout after cleaning protects it longer, reducing absorption of dirt and moisture and making future grout cleaning easier.
- Steam cleaning is a chemical-free option for tile grout, but it may be time-consuming and isn’t ideal for damaged grout.
Tile grout can make or break the look of your floors and walls. Even the nicest tiles will look dull and dirty if the grout is stained, discolored, or covered in mildew. If you’ve been avoiding grout cleaning because it seems complicated or time-consuming, this guide is for you. In this article, you’ll learn how to clean tile grout the easy way, using simple tools and everyday cleaning products. This is a beginner-friendly approach that delivers real results.
Why Does Tile Grout Get Dirty So Fast?
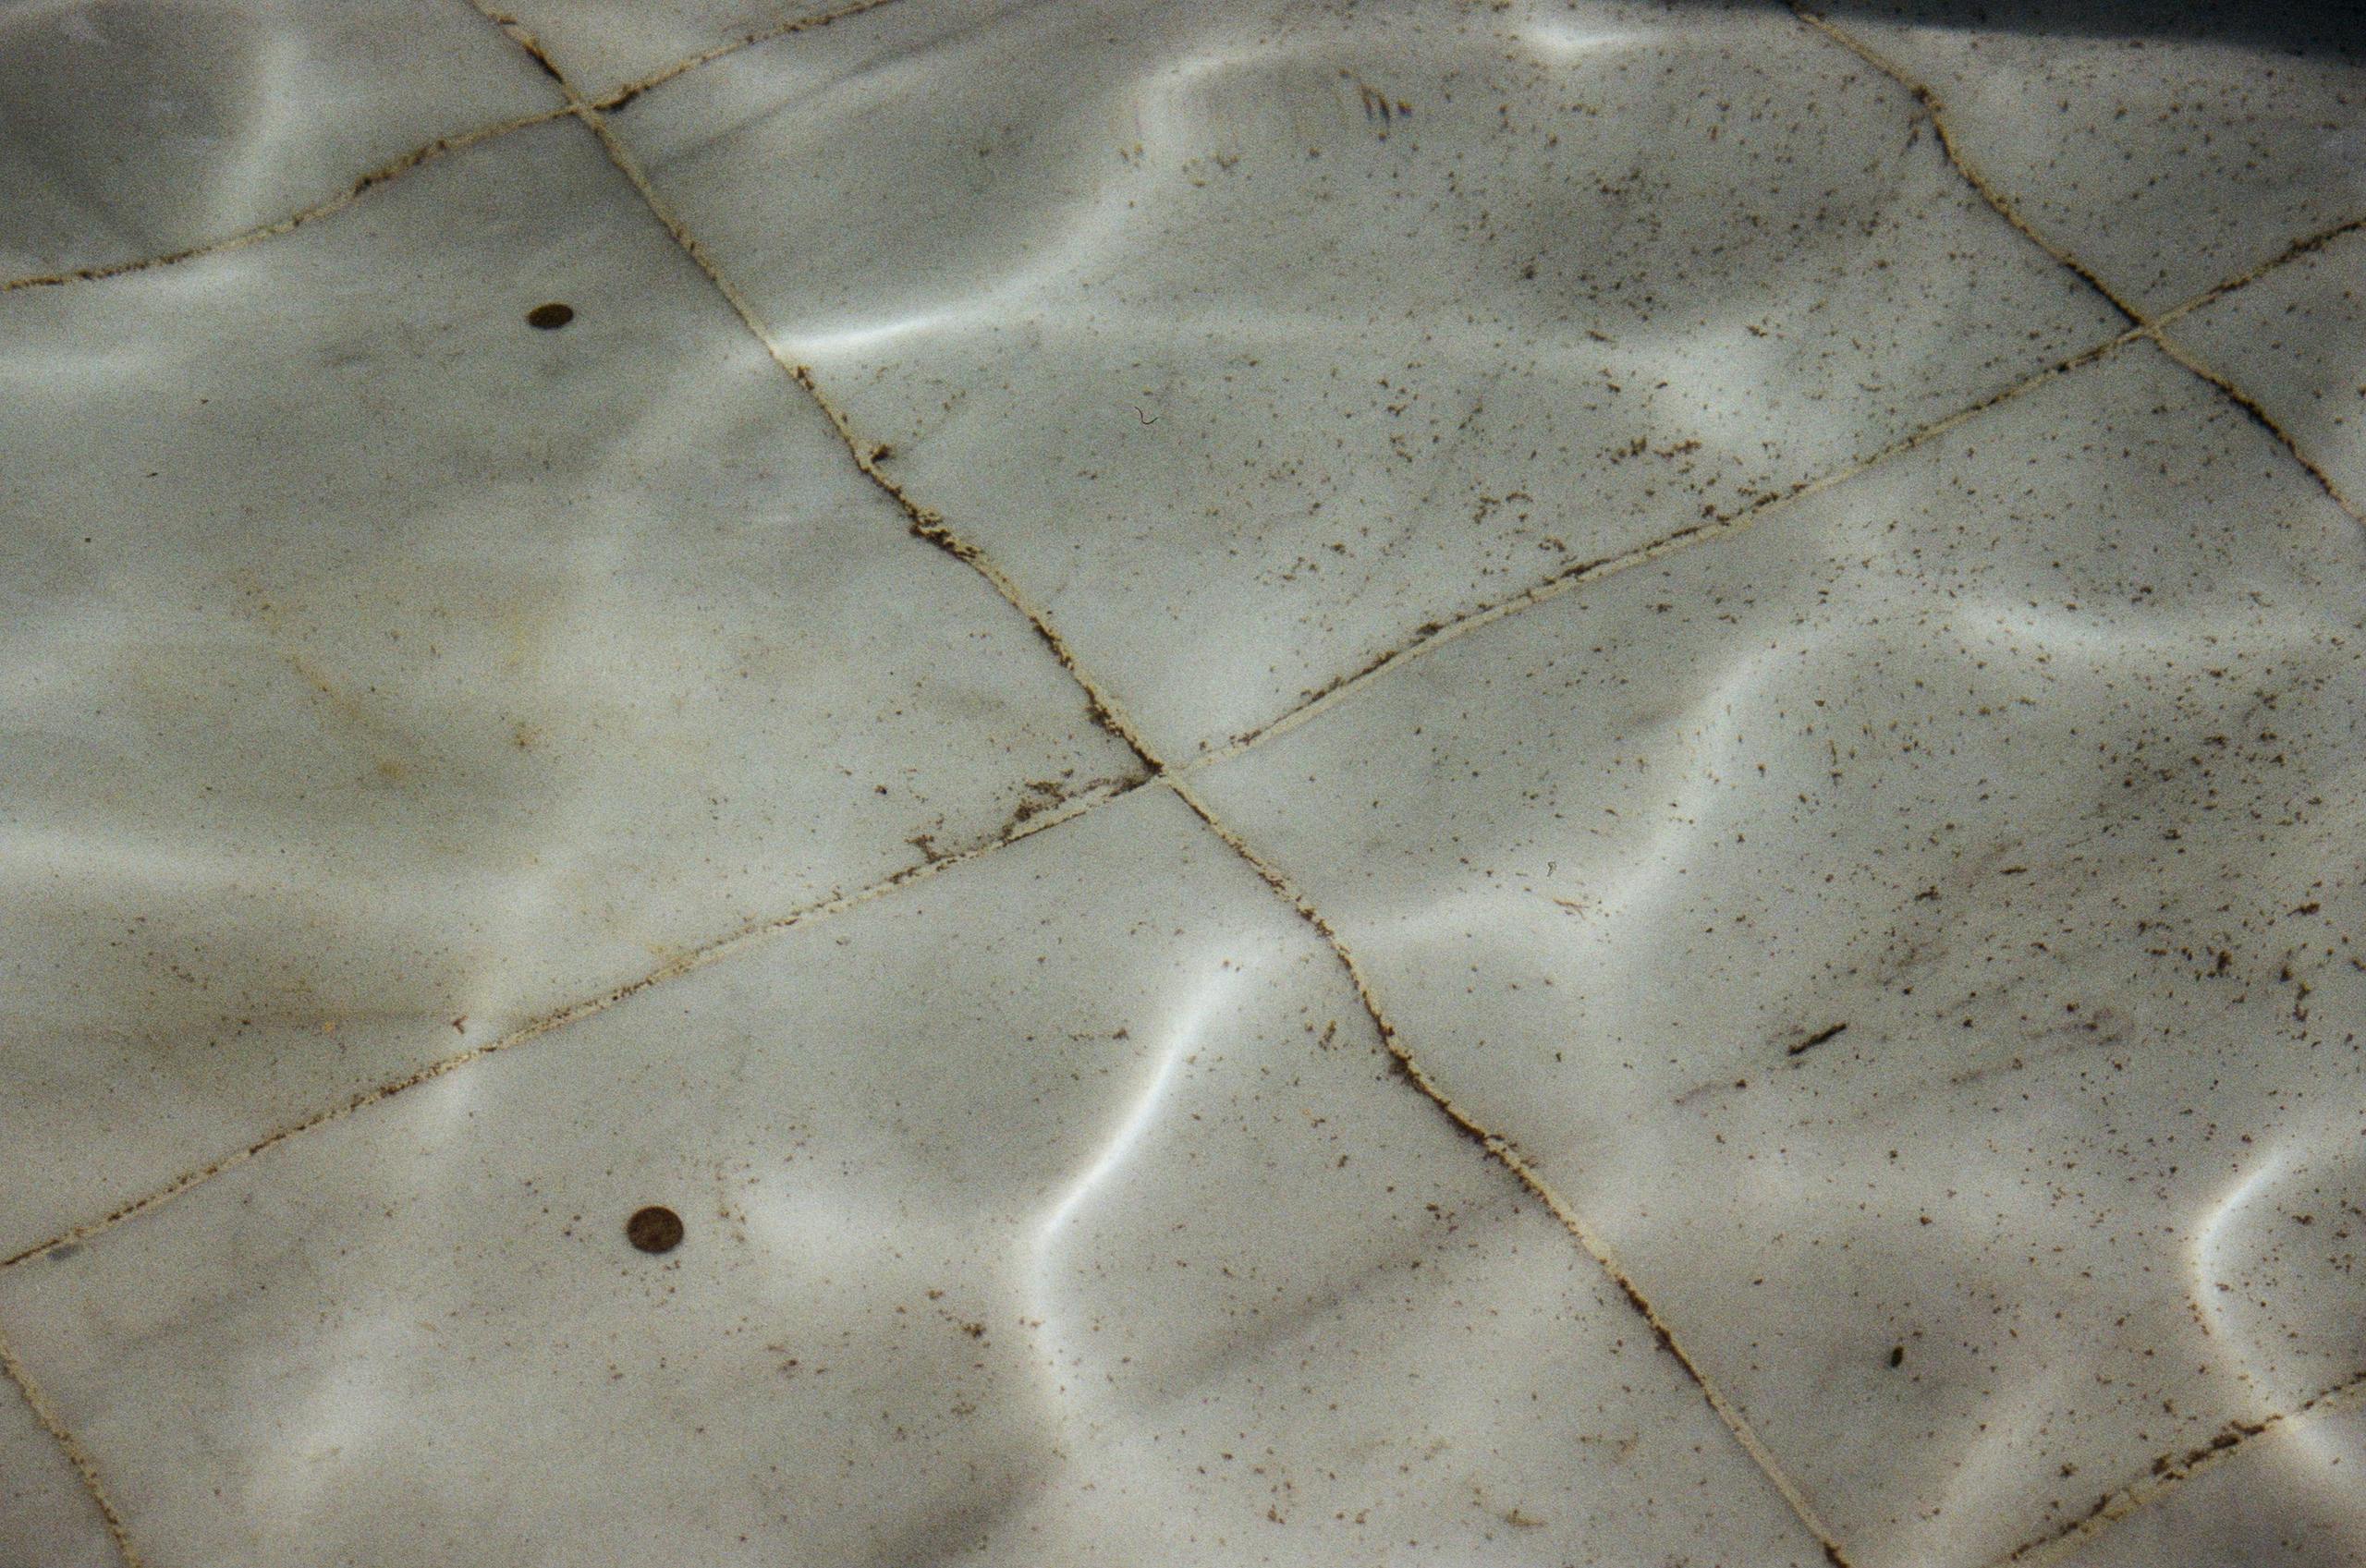
Grout is porous, which means it absorbs dirt, moisture, and spills. Over time, the grout lines in high-traffic areas like bathrooms, kitchens, and entryways will start to look gray or brown. This happens even if you clean the tile regularly, because the dirt sinks into the grout.
Some common causes of dirty grout include:
- Foot traffic and everyday dirt
- Spills and splashes in kitchens and bathrooms
- Soap scum and hard water stains
- Mold and mildew in damp areas
- Neglect or lack of sealing
The good news is that grout cleaning is a quick win for improving your home’s appearance. Once your grout looks fresh, your entire room looks cleaner and brighter.
What Tools Do You Need to Clean Grout?
You don’t need expensive tools or professional equipment to clean tile grout. If you’re wondering how to clean grout, here’s what you should have on hand:
Basic Tools
- Stiff grout brush or old toothbrush
- Bucket
- Rubber gloves
- Microfiber cloth or sponge
- Spray bottle
Optional Tools for Deeper Cleaning
- Steam cleaner
- Grout pen (for whitening or touching up grout lines)
- Electric scrubber (for larger areas)
Cleaning Solutions That Work
You can use store-bought grout cleaner, but you can also use simple ingredients you probably already have:
- Baking soda
- White vinegar
- Hydrogen peroxide
- Dish soap
- Warm water
How to Clean Tile Grout: Step-by-Step for Beginners
Here’s a simple process that works for most grout cleaning jobs. It’s safe, effective, and beginner-friendly. The key is to work in small sections and use the right amount of cleaning paste so it can penetrate the grout.
Step 1: Prepare the Area
Start by clearing the floor or wall. Remove rugs, mats, and any items that may get in the way. This makes it easier to reach every grout line and prevents accidental slipping.
Next, sweep or vacuum the tile to remove loose dirt and debris. This step matters because grout holds onto grime, and loose dirt can scratch the tile if you scrub without removing it first. If you’re working in a bathroom, make sure the floor is dry so your cleaning paste stays in place.
Step 2: Make Your Grout Cleaning Paste
A common and effective grout cleaner is baking soda mixed with water. It forms a paste that clings to grout lines and helps lift stains without damaging tile.
Mix:
- 1/2 cup baking soda
- Enough water to form a thick paste (about 2–3 tablespoons)
For tougher stains, you can add a small amount of hydrogen peroxide to the paste. This helps brighten the grout and breaks down deeper grime. If you add hydrogen peroxide, use just a teaspoon at a time to avoid making the paste too runny.
Step 3: Apply the Paste to Grout Lines
Use a small brush or your fingers (with gloves on) to apply the paste directly onto the grout lines. Press the paste into the grout so it fully covers the stained areas.
Let it sit for 10–15 minutes. This waiting time allows the baking soda to absorb dirt and the paste to soften any dried residue. If you’re dealing with very old stains, you can let it sit up to 20 minutes, but don’t let it dry completely.
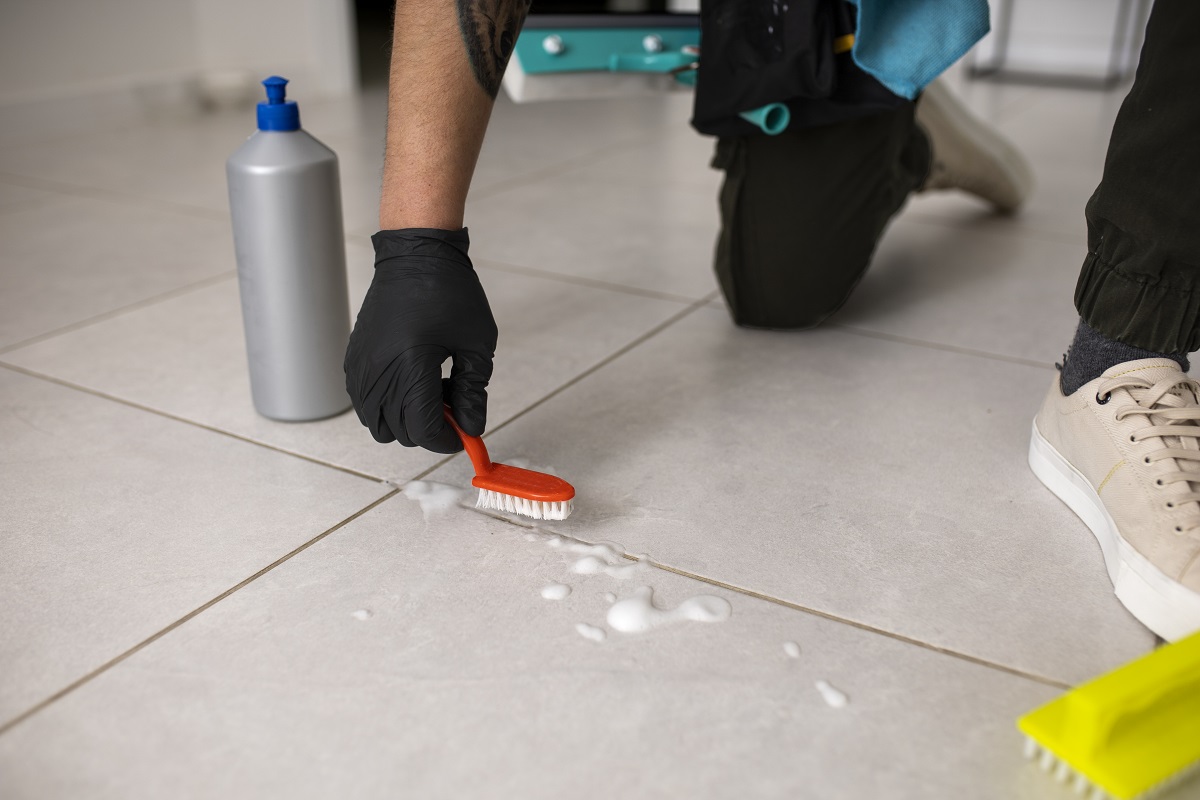
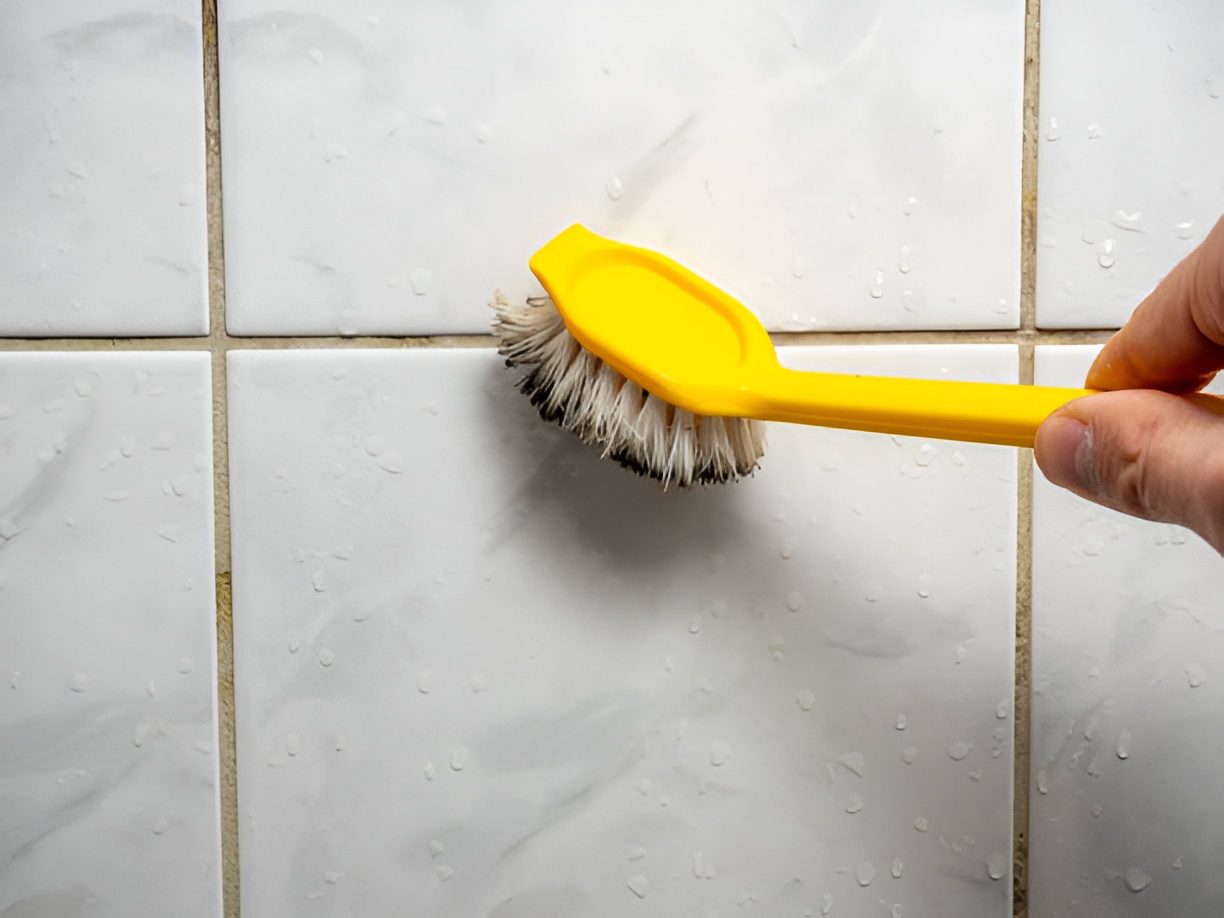
Step 4: Scrub the Grout
Use a grout brush or toothbrush to scrub the lines. Work in small sections and use firm pressure, especially on darker stains. Scrub in a back-and-forth motion rather than side-to-side to avoid spreading the paste onto clean tile.
Tip: Scrubbing in a circular motion helps lift dirt faster and evenly.
If you find the paste is drying out while you scrub, add a little water to keep it moist. Dry paste can be harder to remove and may leave residue.
Step 5: Rinse and Wipe Clean
After scrubbing, wipe the tile with a damp microfiber cloth. This removes the paste and lifted dirt from the grout lines.
Rinse the cloth frequently and repeat until the tile is clean and residue-free. You may need to rinse the tile a couple of times to fully remove the baking soda paste. If residue is left behind, the grout can look hazy once it dries.
Step 6: Dry the Grout
Use a dry cloth or towel to remove any remaining moisture. This helps prevent mold and mildew from returning and also prevents the grout from reabsorbing dirt quickly.
Drying also makes it easier to see whether the grout needs a second pass or if it’s clean enough.
What If the Grout Is Stained or Discolored?
Sometimes baking soda paste isn’t enough for deep stains or mold. Here are stronger options:
Vinegar Method (for Light Stains)
Mix equal parts white vinegar and water in a spray bottle. Spray onto grout and let sit for 5–10 minutes. Scrub and rinse.
This method works well for soap scum and light discoloration, but be careful if you have natural stone tiles. Vinegar can etch and dull surfaces like marble, travertine, or limestone.
Note: Avoid vinegar on natural stone tiles like marble or travertine, as it can damage the surface.
Hydrogen Peroxide Method (for Stubborn Stains)
Use hydrogen peroxide directly on the grout. Let it sit for 10 minutes, then scrub and rinse.
Hydrogen peroxide is great for stubborn stains because it acts as a mild bleach without harsh chemicals. It also helps kill mildew and mold.
Commercial Grout Cleaner
If your grout is heavily stained or you’ve tried DIY methods without success, a store-bought grout cleaner can be more effective. Follow the label instructions carefully and always test a small area first to avoid damaging tile.
How to Clean Grout Without Harsh Chemicals
If you want a chemical-free option, here are safe, natural alternatives that still get results:
Natural Grout Cleaning Options
- Baking soda + water paste
- Baking soda + hydrogen peroxide
- Warm water + dish soap
- Steam cleaning (no chemicals)
These methods are gentle, effective, and safe for most tile surfaces. Steam cleaning is especially helpful in bathrooms because it reaches deep into grout pores without using any cleaning products.
How Often Should You Clean Tile Grout?
The frequency of grout cleaning depends on the area and how much traffic it gets.
- High-traffic areas (kitchen, entryway): once every 1–2 months
- Bathroom floors and walls: once every 2–3 months
- Low-traffic areas: every 6 months
If you notice grout darkening or stains returning quickly, it may be time to reseal the grout.
Should You Seal Grout After Cleaning?
Yes. Sealing grout is one of the best ways to keep it clean longer. Sealer creates a protective barrier that reduces absorption of dirt and moisture.
How to Seal Grout
- Make sure grout is completely dry
- Apply grout sealer with a small brush or applicator
- Wipe off excess sealer from tile
- Let it dry for 24 hours
Sealing grout once a year can make maintenance much easier.
What Are Common Grout Cleaning Mistakes to Avoid?
Even when you’re doing the right steps, a few mistakes can damage your grout or make it look worse.
Avoid These Mistakes
- Using abrasive tools that scratch tile
- Using vinegar on natural stone
- Skipping rinsing (leaves residue)
- Using too much water (can cause mold)
- Not drying grout after cleaning
Can You Use a Steam Cleaner on Grout?
Yes, steam cleaners are excellent for grout cleaning, especially in bathrooms. Steam breaks down grime and kills mold without chemicals.
Pros of Steam Cleaning
- No chemicals needed
- Deep cleaning power
- Good for mold and mildew
Cons of Steam Cleaning
- Can be time-consuming for large areas
- Not ideal for damaged grout
- Requires a good steam cleaner
Final Tips for Beginner Grout Cleaning
Here are quick tips to make grout cleaning easier:
- Work in small sections to avoid drying paste
- Use a stiff brush, not metal
- Always test a cleaning solution on a small area first
- Keep grout sealed after cleaning
- Clean regularly to avoid deep stains
Ready to Get Your Grout Looking New Again?
Cleaning tile grout doesn’t have to be complicated or expensive. With the right tools and a simple process, you can restore your floors and walls in just one session. Whether you choose a baking soda paste, vinegar solution, or steam cleaning, the key is consistency and proper maintenance.
If you follow this step-by-step guide, you’ll be able to clean tile grout like a pro—without the stress or cost of professional cleaning.