- Grout gets dirty because it’s porous and textured, so it absorbs dirt, moisture, soap scum, and oils—making it look darker than the surrounding tile even when the tile appears clean.
- Regular maintenance is key, with weekly wipe-downs, monthly deep cleaning, and a full deep clean plus resealing every 6–12 months to prevent buildup.
- DIY cleaning solutions are effective and affordable, especially baking soda + vinegar for general cleaning, hydrogen peroxide + baking soda for tougher stains, and dish soap + warm water for light maintenance.
- Bathroom grout needs extra attention due to constant moisture; using hydrogen peroxide can help remove mold and mildew, and drying grout thoroughly after cleaning prevents mold from returning.
- Kitchen grout is prone to grease stains, so use baking soda paste or dish soap solutions to break down oils and prevent permanent discoloration.
- Steam cleaning is a powerful chemical-free option, ideal for deep cleaning and sanitizing grout, especially in bathrooms and kitchens.
- Sealing grout after cleaning is the best way to keep it looking new, and avoiding common mistakes (like using harsh chemicals on sensitive tile or scrubbing too hard) helps protect grout and tile long-term.
Grout is one of those parts of your home that doesn’t get much attention—until it starts looking dirty. Whether you have tile floors, shower walls, or kitchen backsplashes, grout can become discolored over time. The good news is that cleaning grout is easier than you think. With the right approach, you can restore your grout to its original color and keep it looking fresh for months.
This guide will walk you through everything you need to know about how to clean grout, from simple DIY methods to deep cleaning techniques. You’ll also learn how to prevent future staining, how to handle tough mold and mildew, and which products are worth your time and money.
Why Does Grout Get Dirty So Easily?

Grout is porous, meaning it absorbs dirt, moisture, and stains. In high-traffic areas like bathrooms and kitchens, grout acts like a sponge, soaking up grime over time. It also collects soap scum, mineral deposits, oils, and even bacteria.
Because grout is textured and slightly rough, it can trap particles that regular mopping or wiping won’t remove. That’s why grout often looks darker than the surrounding tile, even when your tiles appear clean.
How Often Should You Clean Grout?
If you want grout that looks consistently clean, you should treat it as a regular maintenance task. Here’s a simple schedule:
- Weekly: Quick wipe-down with a mild cleaner
- Monthly: Deep cleaning with a grout cleaner or DIY solution
- Every 6–12 months: Full deep clean and reseal (if needed)
Keeping up with regular cleaning prevents buildup and makes each cleaning session easier.
What Tools Do You Need to Clean Grout?
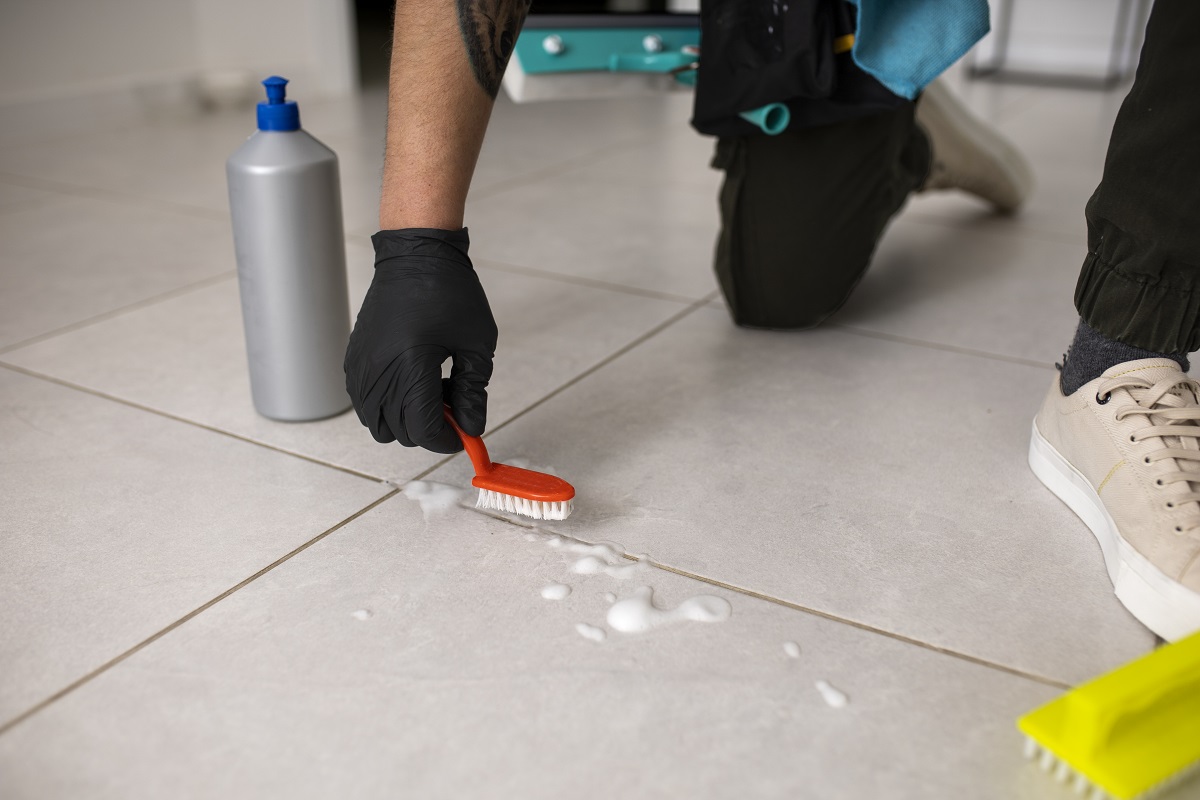
Before you start, gather the right tools. The difference between an easy grout cleaning job and a frustrating one often comes down to the tools you use.
Essential Tools
- Grout brush or old toothbrush
- Microfiber cloth
- Spray bottle
- Bucket
- Rubber gloves
- Steam cleaner (optional but effective)
- Grout cleaner or DIY solution
Optional Tools for Tough Jobs
- Electric scrubber
- Toothpick or small scraper for debris
- Grout pen (for resealing and touch-ups)
- Grout sealer
What Are the Best DIY Grout Cleaning Solutions?
You don’t need expensive cleaners to make grout look new again. These DIY options are effective and safe for most tile surfaces. The key is choosing the right solution for the level of grime you’re dealing with and letting it sit long enough to break down dirt.
Baking Soda and Vinegar
This is one of the most popular DIY grout cleaners because it’s powerful and inexpensive. The baking soda acts as a mild abrasive that helps scrub away dirt, while vinegar helps dissolve mineral deposits and soap scum.
How to use it:
- Mix baking soda with enough water to form a thick paste (similar to toothpaste consistency).
- Apply the paste directly to the grout lines using a small brush or sponge.
- Spray white vinegar over the paste. You’ll notice fizzing—this is the chemical reaction breaking down grime.
- Let it sit for 5–10 minutes to penetrate deep into the grout.
- Scrub with a grout brush or old toothbrush using firm circular motions.
- Rinse with warm water and wipe away residue with a clean cloth.
Pro tip: For tougher stains, repeat the process or add a second application of baking soda paste.
Hydrogen Peroxide and Baking Soda
This combo is stronger and works well on stubborn stains. Hydrogen peroxide has whitening properties, which makes it great for stained grout.
How to use it:
- Mix baking soda and hydrogen peroxide into a paste (use just enough peroxide to get the right texture).
- Apply the paste directly to grout lines, especially where stains are darkest.
- Let it sit for 10–15 minutes to lift stains.
- Scrub with a stiff brush, focusing on stained areas.
- Rinse thoroughly with warm water to remove all residue.
Pro tip: This mixture works best on white or light-colored grout. It can help brighten grout without harsh chemicals.
Dish Soap and Warm Water
If your grout is only slightly dirty, this is a gentle and effective method. It’s best for regular maintenance and lighter grout discoloration.
How to use it:
- Mix a few drops of dish soap with warm water in a bucket.
- Apply the mixture to grout lines using a cloth or sponge.
- Scrub gently with a brush, focusing on areas with visible dirt.
- Rinse with clean water and dry the area.
Pro tip: This is a great weekly maintenance method because it removes surface grime without stripping sealant or damaging tile.
How to Clean Grout in the Bathroom
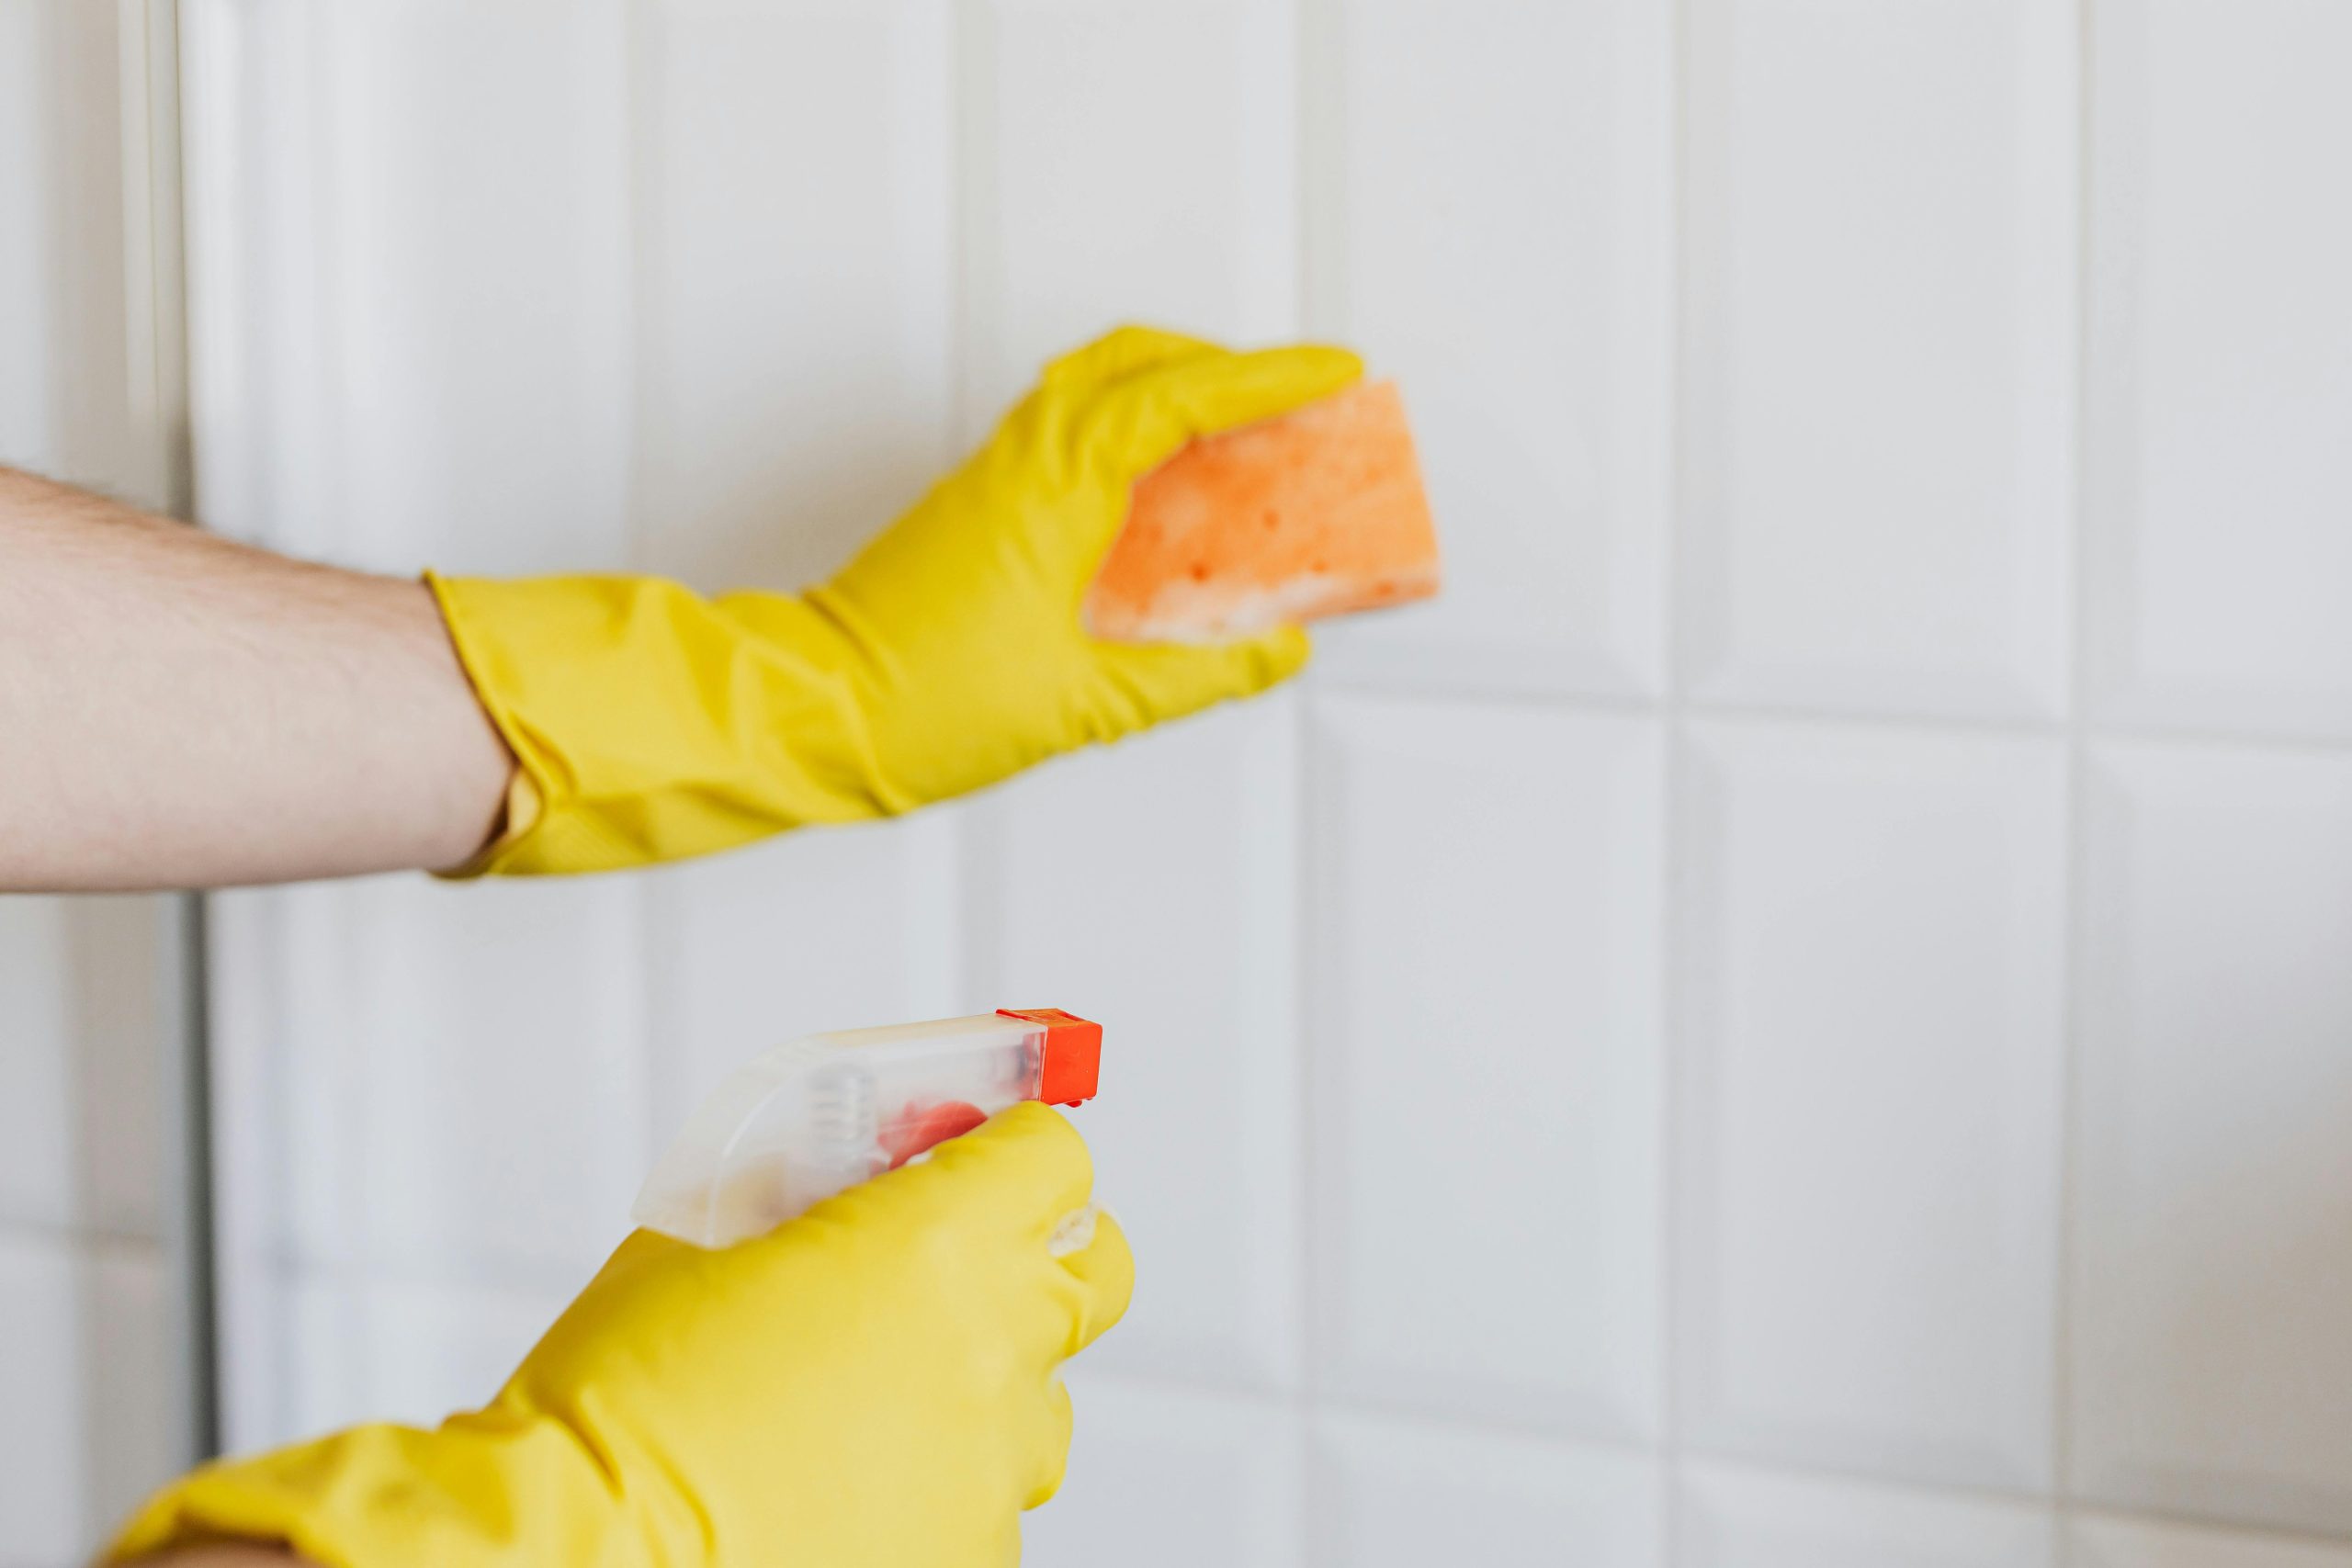
Bathrooms are one of the toughest areas for grout because they are constantly exposed to moisture and soap residue. The biggest issues you’ll face are mold, mildew, and soap scum buildup.
Step-by-Step Bathroom Grout Cleaning
- Start with a dry brush to remove loose debris.
- Apply a cleaning solution (baking soda + vinegar or hydrogen peroxide).
- Let it sit for 10 minutes to break down soap scum and mildew.
- Scrub grout lines thoroughly using firm strokes.
- Rinse with warm water and wipe away residue.
- Dry the area completely to prevent mold from returning.
Pro tip: If you have heavy mold, use hydrogen peroxide instead of vinegar, since it’s stronger at killing mold without damaging grout.
How to Prevent Mold and Mildew
- Use a bathroom fan or open windows after showers
- Wipe down tiles and grout after bathing
- Keep grout sealed to reduce moisture absorption
- Use mildew-resistant grout cleaner periodically
- Replace old caulk around the tub or shower (caulk often traps mold)
Pro tip: A simple squeegee after every shower makes a big difference in reducing moisture buildup.
How to Clean Grout in the Kitchen
Kitchen grout is often stained by grease, oils, and food residue. If you have a tile backsplash or floor, it’s important to clean grout regularly to prevent permanent staining.
Best Methods for Kitchen Grout
- Baking soda and water paste for general cleaning
- Hydrogen peroxide for deeper stains
- Dish soap and warm water for grease buildup
How to Remove Grease Stains from Grout
Grease stains can soak into grout and become difficult to remove if left untreated. The key is using a cleaning solution that breaks down oil.
How to do it:
- Make a paste with baking soda and warm water.
- Apply it to grout lines and let it sit for 10 minutes.
- Scrub with a grout brush using firm pressure.
- Rinse with warm water and dry thoroughly.
Pro tip: For extra grease power, add a few drops of dish soap to the baking soda paste.
How to Clean Grout Without Damaging Tile
Certain tile materials like natural stone (marble, travertine, limestone) are sensitive to acidic cleaners like vinegar. Using the wrong cleaner can damage or dull your tiles.
Safe Cleaning Methods for Sensitive Tile
- Use mild dish soap and warm water
- Use hydrogen peroxide (in small amounts)
- Avoid vinegar or acidic cleaners
- Test any cleaner in an inconspicuous spot first
- Avoid scrubbing too hard to prevent scratching
If your tile is natural stone, it’s best to avoid harsh chemicals and use a stone-safe cleaner.
How to Clean Grout With a Steam Cleaner
Steam cleaning is one of the easiest ways to clean grout without chemicals. Steam penetrates deep into grout lines and loosens dirt.
Benefits of Steam Cleaning
- No harsh chemicals
- Deep cleaning power
- Great for bathrooms and kitchens
- Works well on stubborn stains
- Helps sanitize surfaces
How to Use a Steam Cleaner on Grout
- Fill the steam cleaner with water.
- Apply steam directly to grout lines.
- Scrub with a brush if needed.
- Wipe away residue with a cloth.
- Let dry completely.
Pro tip: Steam cleaning is especially effective on grout that hasn’t been sealed. If your grout is sealed, steam still works but may require extra scrubbing.
How to Remove Stubborn Grout Stains
Sometimes grout stains won’t budge with regular cleaning. In those cases, you need stronger methods.
Tough Stain Removal Options
- Oxygen bleach (safe for most grout types)
- Commercial grout cleaner
- Hydrogen peroxide + baking soda
- Steam cleaning
When to Use Oxygen Bleach
Oxygen bleach is safer than chlorine bleach and works well on deep stains. It’s especially useful for older grout that has absorbed years of dirt.
How to use oxygen bleach:
- Mix with water according to package instructions.
- Apply to grout lines and let sit for 15–20 minutes.
- Scrub and rinse thoroughly.
- Repeat if needed.
Pro tip: Oxygen bleach works best on light-colored grout and can help brighten it without harsh chemicals.
What About Chlorine Bleach?
Chlorine bleach is effective, but it can damage grout over time and should be used with caution.
When to Use Bleach
- Only for severe mold and mildew
- Only on white grout
- Only in well-ventilated areas
- Wear gloves and protective eyewear
How to Use Bleach Safely
- Mix 1 part bleach with 10 parts water.
- Apply carefully to grout lines.
- Let sit for 5–10 minutes.
- Scrub and rinse thoroughly.
- Dry completely.
Pro tip: Avoid bleach if your grout is colored or if you have natural stone tiles.
How to Clean Grout With a Grout Pen
If your grout is faded or permanently stained, cleaning alone may not restore its color. In that case, a grout pen can help refresh the look.
How to Use a Grout Pen
- Clean grout thoroughly first
- Let grout dry completely
- Apply grout pen evenly
- Let dry for recommended time
- Apply a second coat if needed
Grout pens are great for small areas, but they aren’t always the best solution for large floors.
How to Seal Grout and Why It Matters
Sealing grout is one of the best ways to keep it looking clean. A grout sealer creates a protective barrier that prevents dirt, stains, and moisture from penetrating.
When Should You Seal Grout?
- After deep cleaning
- After grout repair
- Every 6–12 months for high-traffic areas
- Every 1–2 years for low-traffic areas
How to Seal Grout
- Clean grout thoroughly
- Allow grout to dry completely
- Apply grout sealer evenly
- Wipe away excess sealer
- Let dry fully before use
Pro tip: Always apply sealer to clean grout—otherwise, you’ll be sealing in dirt.
How to Clean Grout Without Scrubbing for Hours
If you want a less labor-intensive approach, these tips will help you clean grout with minimal effort:
- Use a steam cleaner
- Apply cleaning solution and let it sit longer
- Use an electric scrubber
- Clean regularly to prevent buildup
- Focus on high-traffic areas first
How to Keep Grout Clean Long-Term
Once your grout is clean, you’ll want to keep it that way. Here are the best long-term strategies:
Regular Maintenance
- Wipe up spills immediately
- Clean grout weekly with a mild cleaner
- Use a microfiber mop for floors
- Keep bathrooms ventilated
Preventing Mold and Mildew
- Dry grout after showers
- Use mildew-resistant products
- Replace old caulk around showers and tubs
Use the Right Products
- Avoid harsh chemicals on natural stone
- Use grout-safe cleaners
- Use grout sealer for protection
Common Mistakes People Make When Cleaning Grout
Even with the right tools, people often make mistakes that damage grout or tile.
Common Grout Cleaning Mistakes
- Using harsh chemicals on sensitive tile
- Scrubbing too hard and damaging grout
- Not rinsing properly
- Forgetting to dry grout
- Using vinegar on natural stone
- Skipping grout sealing
Avoiding these mistakes will help you clean grout effectively without causing damage.
What If My Grout Is Still Dirty After Cleaning?
If grout still looks dirty after cleaning, it may be permanently stained or damaged. Here are a few options:
Solutions When Cleaning Doesn’t Work
- Re-grouting the area
- Using a grout pen to recolor
- Hiring a professional grout cleaning service
- Replacing old grout entirely
If grout is cracked, crumbling, or missing, cleaning alone won’t fix the issue. In that case, re-grouting may be necessary.
In Summary
Cleaning grout doesn’t have to be a stressful chore. With the right tools and methods, you can make your grout look new again and keep it that way.
Remember:
- Grout gets dirty because it’s porous
- Regular cleaning prevents buildup
- DIY solutions like baking soda and hydrogen peroxide work well
- Steam cleaning is effective and chemical-free
- Sealing grout is the best way to maintain results
Whether you’re dealing with bathroom mold, kitchen grease stains, or old discolored grout, this guide has everything you need to get your grout looking spotless again.