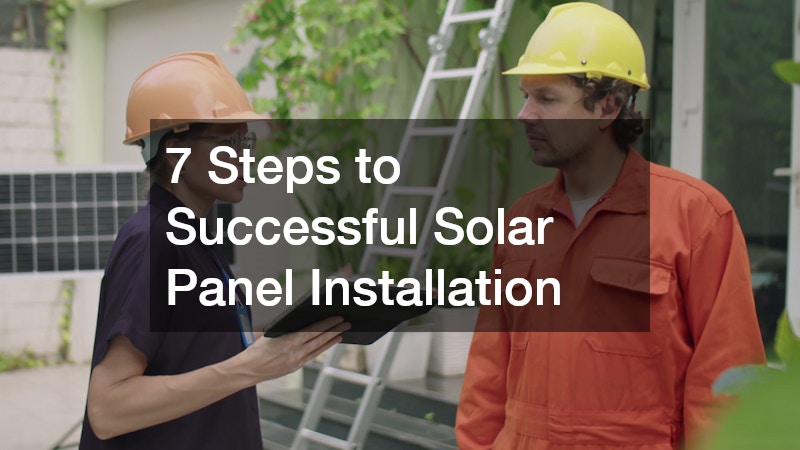
Making the switch to solar energy can significantly reduce household electricity bills, lower your carbon footprint and increase your home’s value. However, for homeowners to reap these benefits, it is crucial to approach solar panel installation with a well-structured plan. By following a methodical process, you can avoid common pitfalls and ensure your system delivers optimal performance for years to come.
Here’s a comprehensive look at the seven key steps to a successful solar panel installation.
Step 1: Assess Your Home’s Solar Potential
Before diving into the logistics, it’s essential to assess whether your property is suitable for solar panel installation. The amount of sunlight your roof receives throughout the year is a critical factor in determining whether solar energy will be a viable option. This includes examining shading from nearby trees, neighbouring buildings, or roof structures such as chimneys. The orientation and pitch of your roof also influence energy generation. Ideally, solar panels in Australia should face north to capture the maximum amount of sunlight. Conducting a proper solar feasibility assessment with the help of a professional will lay the groundwork for an effective installation.
Step 2: Understand Local Regulations & Incentives
Australia has a range of solar incentives and rebates at both the federal and state levels. These schemes, such as Small-scale Technology Certificates (STCs), can significantly reduce the upfront cost of your solar panel installation. At the same time, it is vital to understand the rules and approvals required in your local council or region. Some councils may need development approval or compliance with heritage overlay regulations. By understanding these requirements early on, you can prevent delays and added costs during the installation process. A certified installer will typically manage these permits on your behalf, but being informed gives you an advantage.
Step 3: Choose the Right Solar System for Your Needs
Not all solar systems are created equal and selecting the right size and type is essential to meeting your energy demands. Start by evaluating your household’s average electricity usage. The choice between string inverters, microinverters, or hybrid systems with battery storage will impact both performance and cost. Your installer should provide a tailored system design that matches your consumption patterns, roof layout and budget. Quality over quantity is the rule of thumb here—opt for reputable brands with solid warranties and Australian customer support.
Step 4: Select a Certified & Experienced Installer
Solar panel installation is not a job for unqualified contractors. To ensure safety, reliability and eligibility for government incentives, your system must be installed by a Clean Energy Council (CEC) accredited installer. Experienced professionals will conduct a detailed site inspection, offer transparent quotes and explain the components they recommend using. They should also provide you with a performance estimate and expected return on investment. Choosing a qualified installer reduces the risk of faulty wiring, incorrect mounting, or water leaks, which can lead to costly repairs down the track.
Step 5: Plan the Installation Timeline & Process
Once the system is designed and the paperwork is sorted, it’s time to schedule the installation. Depending on your location and the complexity of your setup, this may take anywhere from one to three days. During this stage, the installer will mount the panels, set up the inverter, connect the wiring and integrate your system into the home’s electrical switchboard. You may need to coordinate with your electricity retailer or distributor to organise a new meter or reconfiguration for solar feed-in. Make sure you understand what will happen on installation day, including power outages, safety precautions and equipment placement.
Step 6: Inspection & Grid Connection
After the panels and inverter are in place, your system must be inspected and approved before it can be connected to the electricity grid. This step ensures your solar panel installation complies with Australian electrical and safety standards. A qualified inspector or representative from your energy distributor will confirm that the system has been installed properly and meets regulatory criteria. Once approved, you’ll receive permission to operate and your system will begin feeding electricity into your home and, if applicable, exporting excess energy back to the grid. This is a critical milestone in your solar journey, as it marks the official handover from the installer to you.
Step 7: Monitor & Maintain Your System
Even after a successful solar panel installation, your job isn’t quite finished. Regular maintenance and monitoring are essential to ensure your system performs efficiently over time. Most inverters come with a mobile app or online portal that allows you to track energy production, consumption and potential issues in real-time. Cleaning the panels periodically and checking for debris or shading can improve output. Additionally, it’s wise to schedule an annual inspection with a qualified technician to test the inverter, inspect wiring and identify any wear or degradation. Keeping your system in peak condition protects your investment and maximises your savings.
A Brighter, Greener Future
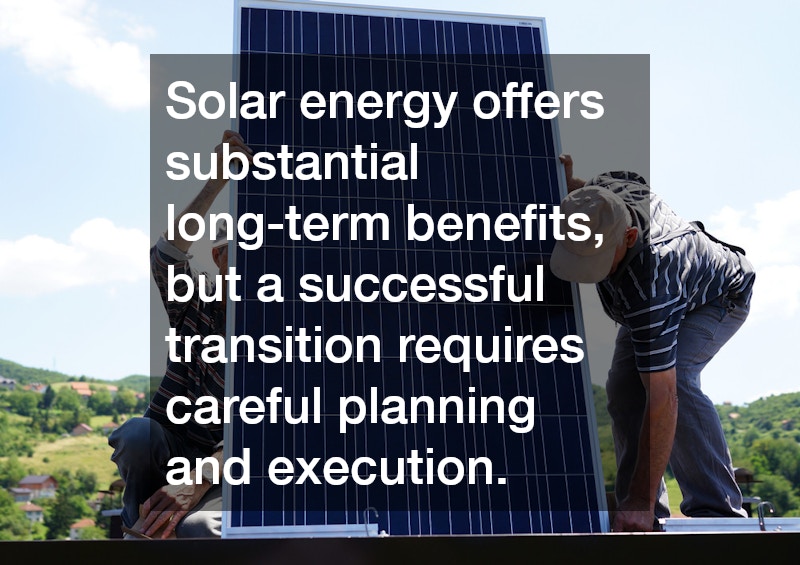
Solar energy offers substantial long-term benefits, but a successful transition requires careful planning and execution. From assessing your roof’s solar potential to selecting a certified installer and monitoring system performance, each step plays a vital role. A quality solar panel installation is more than just mounting hardware on your roof—it’s a strategic upgrade to your lifestyle, energy independence and environmental responsibility. When done right, it sets your household on the path to sustainable energy for decades to come.